How to Reinforce Your Trailer Frame for Heavy Offroad Loads
Posted on February 25, 2026 by Abigail
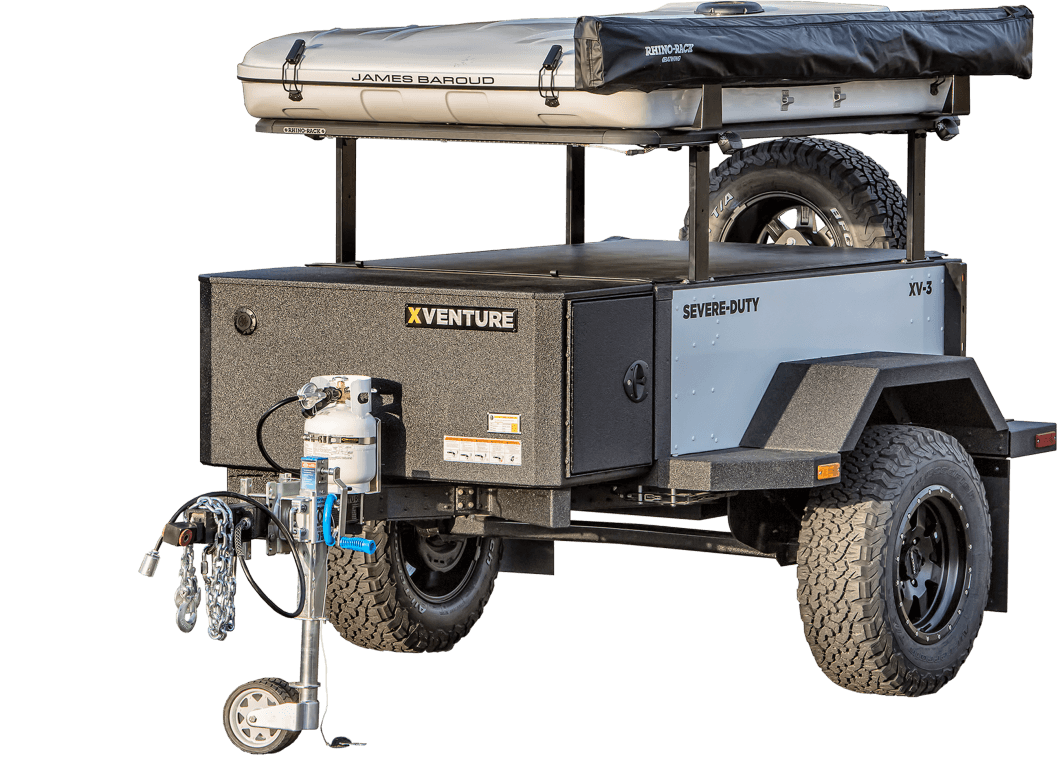
Off-roading with a heavily loaded trailer—whether hauling gear for overlanding, recovery equipment, or construction materials—puts tremendous stress on the frame. Standard utility trailers often flex, twist, or even crack under twisting forces from uneven terrain, rocks, ruts, and high loads. Reinforcing the frame properly can dramatically increase durability, prevent failures, and extend the trailer's life. In this guide, we'll cover practical DIY methods to beef up your trailer frame for serious off-road abuse, based on proven techniques from builders and fabricators. Safety first: always consult local regulations, and if you're not experienced with welding, seek professional help to avoid weak points or structural issues.
Why Off-Road Loads Demand Extra Reinforcement
On pavement, trailers mostly see vertical loads and braking forces. Off-road, you add:
- Torsional twisting from one wheel dropping into a hole while the other stays high.
- High-impact shocks from rocks and jumps.
- Dynamic side loads during articulation.
- Heavy payloads (often 2,000–6,000+ lbs) that amplify every stress.
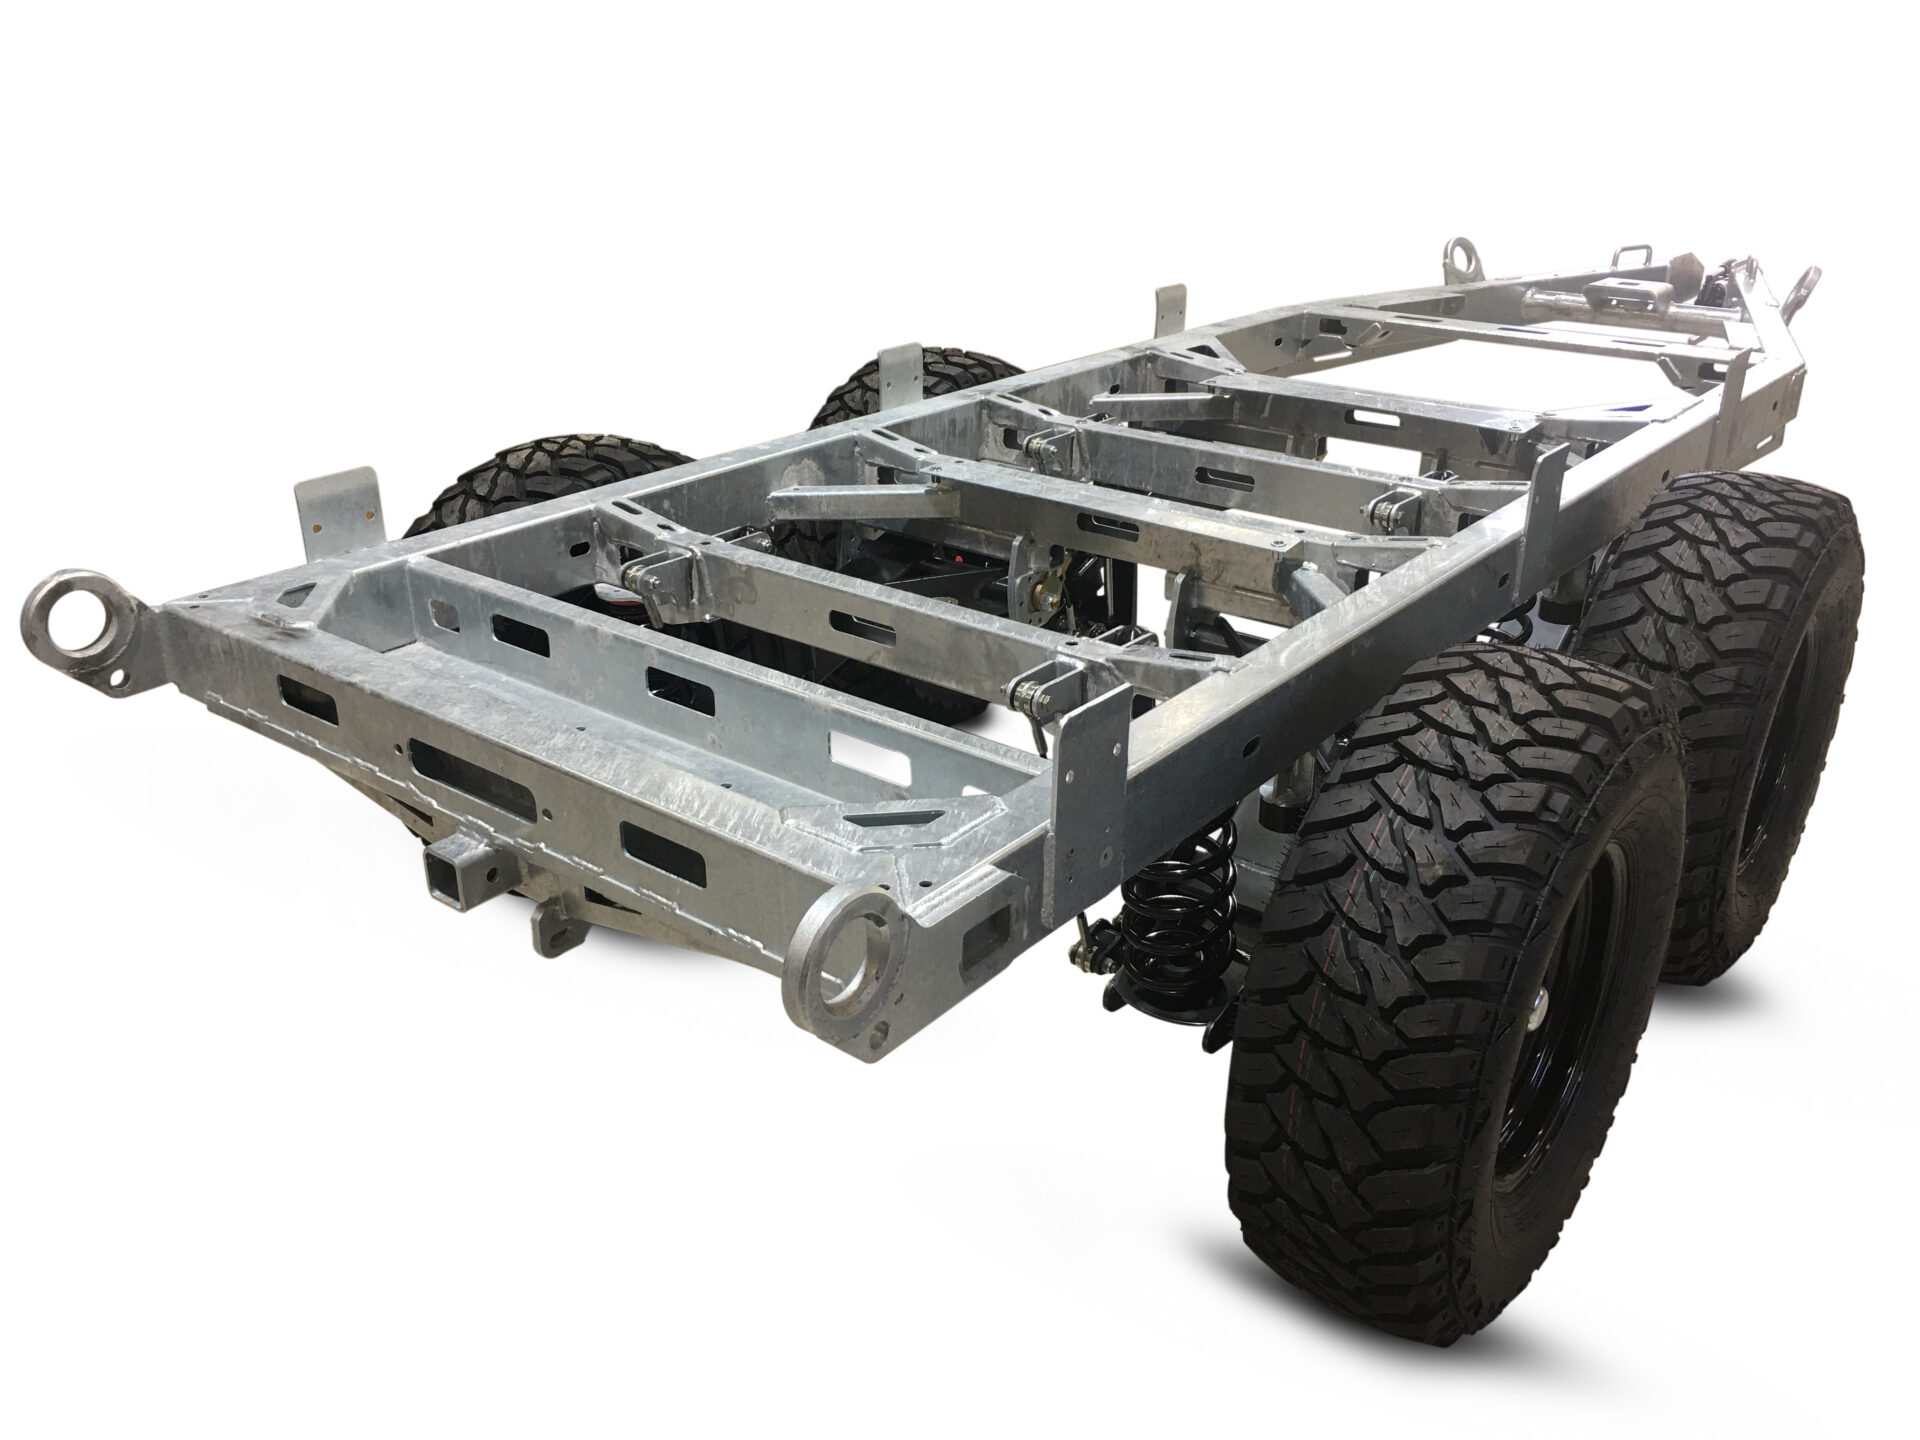
Common failure points include the tongue (A-frame), main rails, crossmembers, and suspension mounts. The goal is to increase stiffness, distribute loads better, and eliminate weak joints without adding excessive weight.
Step-by-Step Reinforcement Methods
Here are the most effective ways to strengthen your trailer frame, prioritized for off-road use. Combine several for the best results.
- Assess and Prepare the Frame
Strip the trailer: remove decking, wiring, and accessories. Inspect for cracks, rust, or bent sections. Clean all areas thoroughly (wire brush or sandblast) for good weld penetration. Measure and plan reinforcements to maintain proper axle alignment and tongue height. - Add or Upgrade Crossmembers
Crossmembers are critical for resisting twist. Add more (every 18–24 inches) using rectangular tubing (e.g., 2x4" or 3x5" with 3/16"–1/4" wall). Weld them fully across the main rails. For extra strength, use triangular gussets at each intersection to prevent flex at joints. - Reinforce the Main Rails (Stacking or Boxing)
"Stack" additional material: weld channel, angle iron, or tube on top/bottom of existing rails for doubled strength. For maximum stiffness, "box" open C-channel frames by welding plate or tube to close the section. This turns weak open beams into rigid closed tubes—ideal for torsion resistance in off-road conditions. - Strengthen the Tongue (A-Frame)
The tongue takes massive leverage forces. Extend a backbone tube (e.g., 2x3" or larger) from the coupler back under the frame rails. Add diagonal braces or gussets at the tongue-frame junction. Many off-road builds use heavy plate gussets or fully boxed tongue sections. - Install Gussets and Triangular Bracing
Gussets at every joint (corners, crossmember intersections, suspension mounts) dramatically reduce flex. Cut from 1/4" plate in triangular shapes and weld on both sides. For non-weld options (if you're bolting), use large through-bolts with washers, but welding is far superior for off-road durability. - Upgrade Suspension and Axle Mounts
Reinforce spring perches and shock mounts with plate gussets. Consider upgrading to heavier axles, coil-over or independent suspension for better articulation without frame damage. Add limiting straps to prevent over-extension. - Finish with Anti-Corrosion and Deck Support
Prime and paint (or powder coat) all new welds. Add sturdy deck supports (additional crossmembers or plywood/metal decking bolted securely) to help distribute floor loads back to the frame.

Materials Recommendations
| Component | Recommended Material | Typical Size/Thickness | Why It Works Off-Road |
|---|---|---|---|
| Main Rails Reinforcement | Rectangular Tubing or Plate | 2x4"–3x5", 3/16"–1/4" wall | High torsional stiffness, resists twisting |
| Crossmembers | Rectangular or Square Tubing | 2x4" or larger | Prevents frame racking on uneven ground |
| Gussets | Steel Plate | 1/4" thick, triangular | Eliminates weak points at intersections |
| Tongue Backbone | Square Tubing | 3x3" or 4x4", 1/4" wall | Handles leverage from heavy tongue weight |
Use high-tensile steel (e.g., A36 or better) for best strength-to-weight. Avoid mild steel if possible for extreme conditions.
Tips and Warnings for Off-Road Success
- Welding Best Practices: Use stitch or full penetration welds; avoid continuous beads that cause warping. Preheat if using thick material.
- Weight Distribution: Keep heavy items low and centered to minimize frame stress.
- Testing: After reinforcement, load gradually and test on mild trails before full off-road abuse.
- Alternatives to Welding: For non-welders, use through-bolts with large plates, but these are less ideal for extreme torsion.
- Professional Help: If exceeding GVWR or making major changes, get an engineer's input or use certified shops.
Conclusion
Reinforcing your trailer frame turns a standard hauler into a reliable off-road beast capable of handling heavy loads over rough terrain. Focus on adding crossmembers, gussets, rail stacking/boxing, and tongue strength—these yield the biggest gains in stiffness and durability. With proper materials and techniques, you can confidently tackle rocky trails, deep mud, or steep inclines without worrying about frame failure. Start small, document your work, and enjoy the peace of mind on your next adventure. Safe travels!
(Word count: approximately 1050)
Sources: MechanicalElements.com, GarageJournal forums, OffRoadDesigns, 4x4TrucksTrailers, and various off-road trailer build threads and videos.


评论
发表评论