DIY Water Filtration and Storage Solutions for Offroad Trailers
Water is the most critical resource on any offroad adventure. In remote trails where potable sources are scarce or questionable, a reliable DIY water system on your trailer ensures hydration for drinking, cooking, and hygiene without constant resupply runs. DIY solutions balance cost, weight, and functionality—using jerry cans, custom tanks, gravity filters, or pumped systems. This guide covers practical, buildable options tailored for overlanding trailers, drawing from proven setups used by offroad enthusiasts.
1. Water Storage Basics: Containers and Mounting
Start with secure, durable storage. Water weighs about 8.3 lbs per gallon, so plan capacity (20-50 gallons typical for trailers) and secure mounting to handle rough terrain.
- Jerry Cans: Reliable classics like Wavian, Rotopax, or Scepter 5-20L BPA-free cans. Stackable or mountable on trailer sides/frames with brackets. Pros: Portable, no power needed, easy to fill from streams.
- Rigid Tanks: Slanted or flat polyethylene tanks (e.g., Front Runner 13-20 gal) mounted under the trailer or in compartments. Use food-grade fittings and vents.
- DIY Hacks: Repurpose old houseboat tanks or large blue jugs with spigots for gravity feed. Mount securely with straps or custom racks to prevent shifting.
Always use food-grade materials, avoid direct sunlight exposure to prevent algae, and include a clean/dirty separation (e.g., one set for source water, one for treated).

Figure 1: Jerry cans and rigid containers mounted securely on an overlanding setup—ideal for trailers with roof racks or side mounts.
2. Simple Gravity-Fed Storage and Dispensing
For low-tech reliability, gravity systems need no electricity—perfect for trailers without heavy power draw.
- Elevate a jerry can or tank on the trailer (or use a high-mounted slim tank) with a food-grade hose and spigot at the bottom.
- Add a simple on/off valve or shower head attachment for camp use (dishes, washing).
- DIY tip: Drill a bulkhead fitting into a can bottom, attach hose with barb fittings—seal with food-safe silicone. No pump required!
This setup excels for base camp: fill from a source, let settle, then gravity-dispense clean-ish water (pre-filter if murky).

Figure 2: A portable jerry can with pump and hose—adaptable for gravity if elevated, great for trailer side access.
3. Filtration Options: From Basic to Advanced DIY
Filtration removes sediment, bacteria, protozoa, and sometimes viruses/chemicals. Combine storage with inline or portable filters.
- Portable Gravity Filters: Sawyer Squeeze or similar (0.1-0.2 micron) in a DIY bag setup. Hang a dirty water bag high, attach filter and hose to clean container below. Filter 1-2 gallons quickly—ideal for refilling trailer jugs from streams.
- Multi-Stage Canister Systems: Build a portable rack with 2-3 housings (e.g., 5-micron sediment → 0.2-micron bacteria/virus → carbon for taste). Use RV hoses and a 12V pump (Seaflo) powered by trailer battery/solar. Pump from source or trailer tank through filters.
- Under-Trailer or Built-In: Mount filters inline with pump for filling onboard tanks or direct use. Add UV light or chemical treatment (drops) for extra safety in high-risk areas.
Start simple: sediment pre-filter + carbon + bacteria filter. Washable/reusable elements save money long-term.

Figure 3: A basic DIY gravity filter setup using bags and inline cartridge—easy to adapt for trailer refills.
4. Pumped Systems: Adding Convenience
For trailer integration, add a 12V diaphragm pump (e.g., Shurflo or Seaflo) to move water from storage to sink, shower, or external spigot.
- Wire to trailer battery with switch/fuse; include accumulator tank for steady pressure.
- Route food-grade hoses through frame; add quick-connects for easy disassembly.
- Combine with filtration: pump dirty water through canisters into clean storage, or filter on demand.
Advanced builds include hot water (via on-demand heater) or dual tanks (fresh/gray water).

Figure 4: Example of a DIY pumped filtration setup under a vehicle—adaptable to trailer compartments with pump, filter, and plumbing.
5. Tips for Success and Safety
- Calculate needs: 1-2 gallons/person/day minimum; more for hot climates or groups.
- Maintenance: Clean filters regularly, store dry, inspect hoses/seals pre-trip.
- Safety: Always treat suspect water (boil, chemicals, or multi-stage filter). Label clean vs. dirty systems.
- Weight distribution: Mount low and centered to avoid trailer sway.
- Budget: Basic jerry + gravity filter <$100; full pumped multi-stage $200-500.
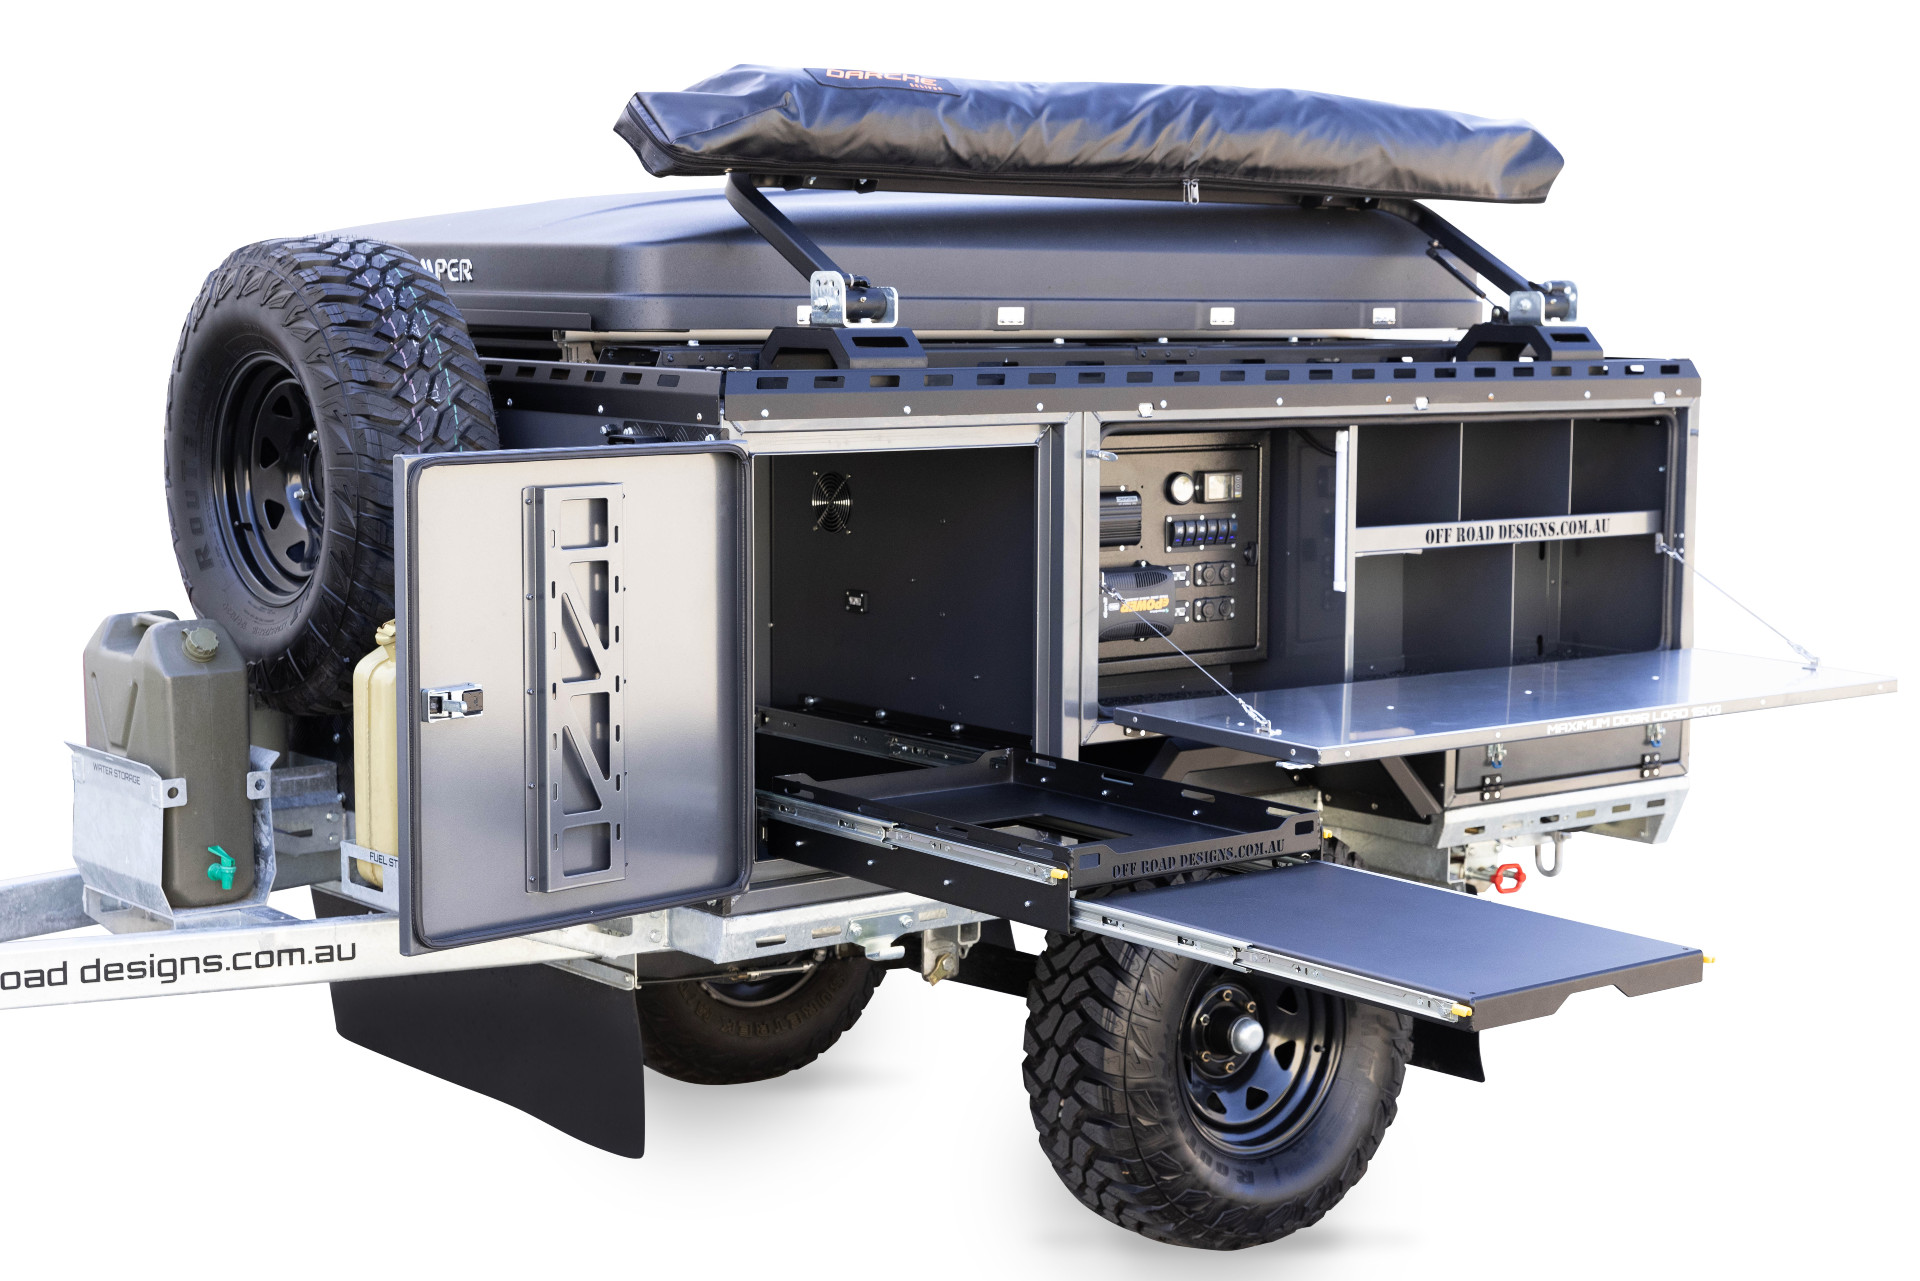
Figure 5: Offroad trailer with integrated water storage—jerry cans and tanks mounted for easy access on the trail.
Conclusion: Build Smart, Stay Hydrated
DIY water systems for offroad trailers range from simple jerry can gravity setups to sophisticated pumped filtration rigs. Start with secure storage and basic filtration, then expand based on your trips. These solutions provide independence in remote areas, turning questionable sources into safe water. With proper planning, your trailer becomes a self-sufficient basecamp. Hit the trails confidently—water solved!


评论
发表评论