How to Insulate Your Camper Trailer for Extreme Weather – Complete Guide
How to Insulate Your Camper Trailer for Extreme Weather
Stay warm in -20°C winters and cool in +40°C summers – A practical DIY guide
Why Insulate Your Camper Trailer?
Most factory camper trailers (travel trailers, teardrops, pop-ups, etc.) come with minimal insulation — often just thin fiberglass or nothing at all in walls/floor/roof. This makes them almost unusable in extreme cold or intense heat.
Proper insulation + vapor barrier + skirting can turn your trailer into a true 4-season rig, dramatically reducing heating/cooling needs and preventing condensation & mold.
Best Insulation Materials Comparison (2025–2026)
| Material | R-value per inch | Best for | Pros | Cons |
|---|---|---|---|---|
| Polyiso (PIR) rigid foam board | ~R6–6.5 | Walls, roof, floor | Highest R-value, moisture resistant | More expensive, can off-gas |
| XPS rigid foam board | ~R5 | Floor & exterior belly | Excellent moisture resistance | Lower R than polyiso |
| Closed-cell spray foam | ~R6–7 | Irregular cavities, underbelly | Air-seals perfectly, structural | Professional install usually needed, heavy |
| 3M Thinsulate or Havelock Wool | ~R3.5–4.2 | Walls & tight spaces | Flexible, soundproof, moisture safe | Lower R-value per inch |
| Reflectix (bubble + foil) | Radiant barrier (~R4–15 in air gap) | Windows, vents, supplemental | Cheap, easy, reflects heat | Needs air gap to work well |
• Polyiso or XPS boards for large flat areas
• Thinsulate / wool for curved/irregular spots
• Reflectix for windows & extra radiant barrier
• Closed-cell spray foam under trailer (belly) if possible
Step-by-Step DIY Insulation Guide
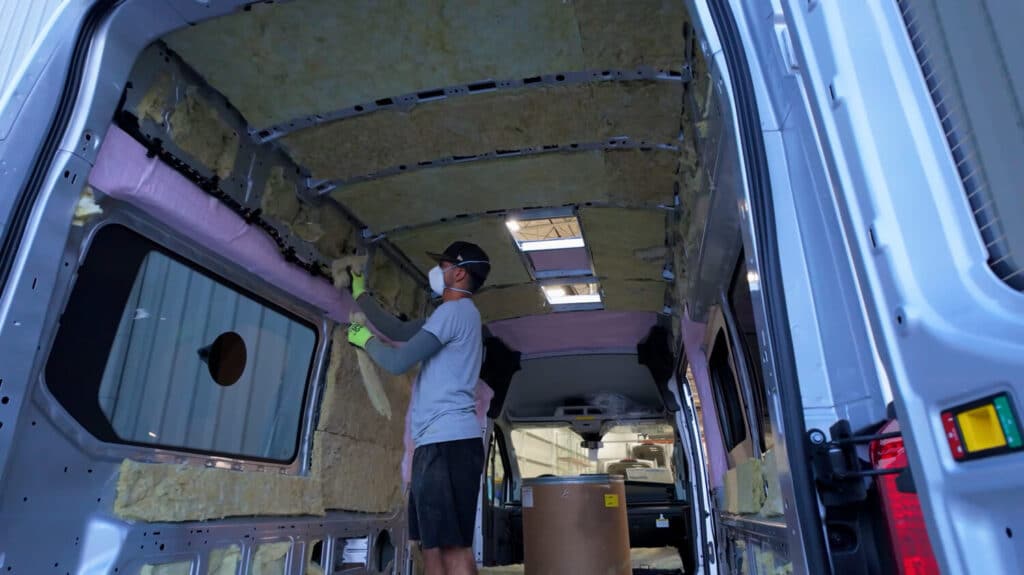
1. Preparation & Safety
- Work in a dry, ventilated area — wear mask, gloves, eye protection
- Remove interior panels/walls (carefully label screws)
- Clean all surfaces (remove dust, old adhesive)
2. Insulate the Floor
Use 1–2" XPS or polyiso boards cut to fit between joists. Tape seams with foil tape. Add Reflectix layer if desired.
3. Walls & Ceiling
Cut rigid foam to fit cavities → secure with construction adhesive or pins → seal all gaps with Great Stuff foam or tape. For better performance: layer foil-faced polyiso + Thinsulate in front.


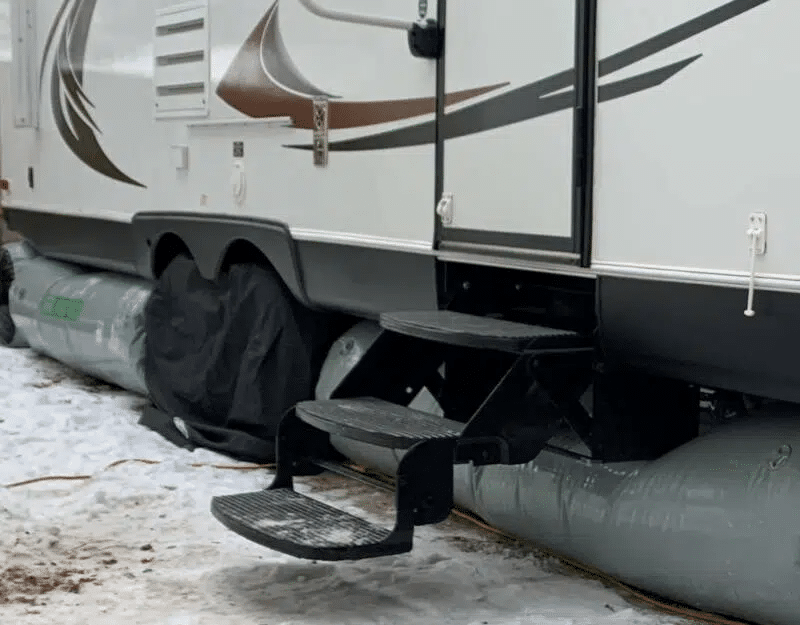
4. Underbelly / Floor Underside
Best: closed-cell spray foam (professional) or rigid foam screwed/attached under trailer + insulated skirting in winter.
5. Windows, Vents & Doors
Cut Reflectix to size + suction cups or magnets for removable covers. Install vent pillows for roof vents.


6. Finishing Touches
- Install vapor barrier (6-mil poly) on warm side (interior) in cold climates
- Reinstall wall panels or add new wood/faux shiplap
- Seal all penetrations (wires, pipes) with silicone or foam
- Add RV skirting for extreme cold
Extra Tips for Extreme Conditions
- Winter: Heated underbelly + skirting + tank heaters + heat tape on pipes
- Summer: Reflective roof coating + max ventilation + blackout shades + portable AC
- Monitor humidity — use dehumidifier or ventilation fans
- Test with thermal camera if possible to find cold spots


评论
发表评论