DIY Camper Trailer Awning Installation Guide: Step-by-Step
DIY Camper Trailer Awning Installation Guide: Step-by-Step (2026 Edition)
By Adventure Gear Guide | January 15, 2026
Adding a side awning to your camper trailer is one of the best upgrades you can make. It creates instant shaded living space, protects against rain, and turns your trailer into a true outdoor home base for camping, overlanding, or weekend getaways. The good news? Many popular manual or electric roll-out awnings (like Dometic, Carefree, AwnLux, or Aleko styles) are DIY-friendly with basic tools and a weekend of work.
This guide walks you through a typical installation for a wall-mounted roll-out awning on a travel trailer or camper — approximately 8–12 ft wide. Expect 4–8 hours depending on experience.
Why Install an Awning on Your Camper Trailer?
A good awning adds massive value: shade on hot days, dry space during rain, and an extension of your indoor living area. Pair it with lights, privacy screens, or even a full enclosure for ultimate comfort.
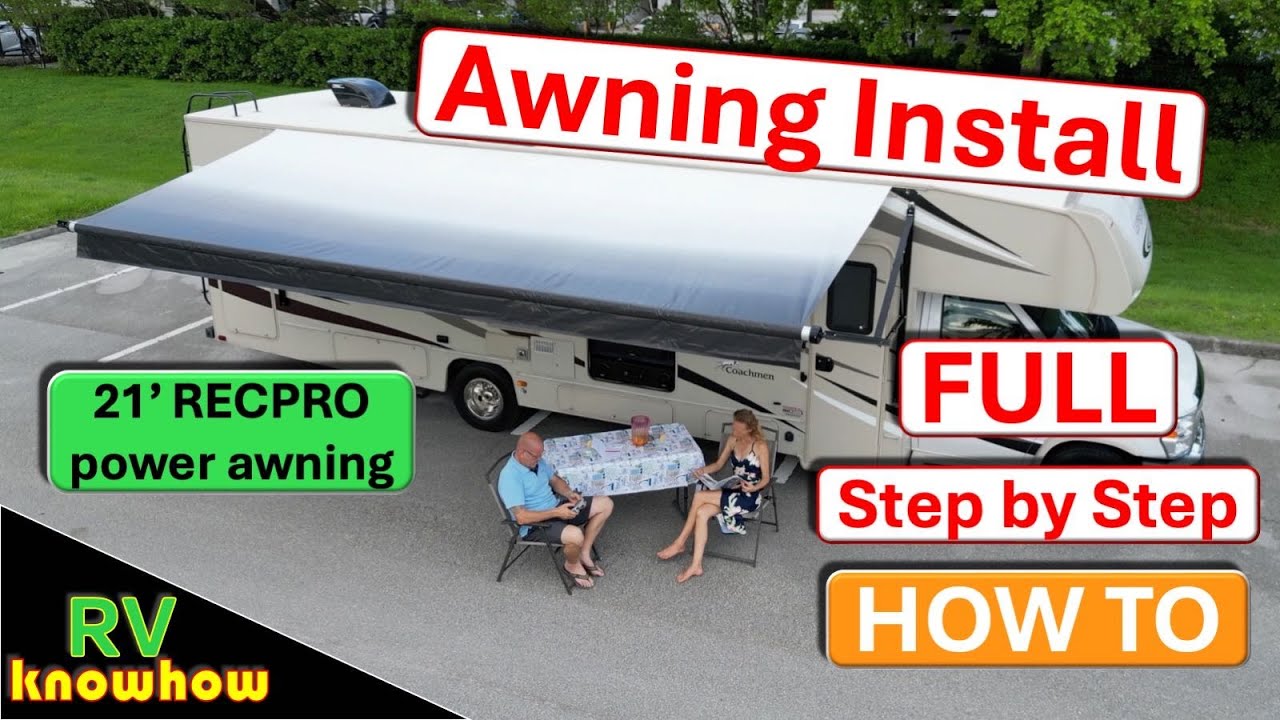
Here are inspiring examples of camper trailers with deployed awnings creating perfect camp setups:

Tools & Materials You'll Need
- Drill with bits and driver bits
- Measuring tape, level, pencil/marker
- Ladder (stable for roof access if needed)
- Socket set, wrenches
- Caulk gun + high-quality RV sealant (Dicor or similar)
- Awning installation tool (highly recommended for tension arms)
- Helper (essential for lifting and aligning)
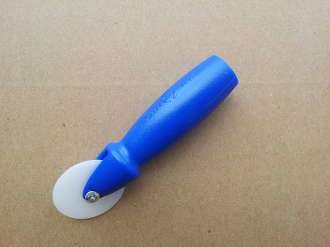
Check out essential tools in action — the awning installation tool makes arm placement much easier:
Step-by-Step DIY Installation Guide
Step 1: Preparation & Measurement
Park on level ground. Measure the mounting area — most awnings need a flat wall section at least 8–10 inches high. Mark the center point and ensure clearance for doors/windows. Double-check height so the awning clears when retracted.
Step 2: Mount the Main Rail/Bracket
Position the main awning rail (the long channel that holds the roller tube) on the trailer wall. Use a level! Mark all screw holes. Pre-drill pilot holes to avoid cracking fiberglass or aluminum. Apply generous sealant under the rail before screwing it in place (use stainless steel screws).
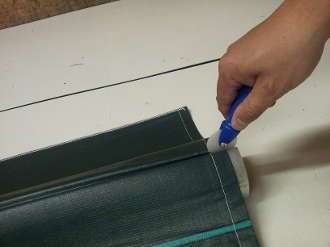
Step 3: Install Support Arms & Hardware
Attach the front support arms and tension mechanisms. This is where the installation tool shines — it helps compress springs and lock arms safely. Secure all brackets with sealant and screws.


Step 4: Insert Roller Tube & Fabric
Slide the roller tube (with fabric pre-attached on most models) into the main rail. Connect the arms to the tube ends. Test retraction/extension manually before final adjustments.
Step 5: Final Adjustments & Testing
Adjust tension, check for smooth operation, and seal all edges. Deploy fully and stake it down. Test in wind (use stabilizers if needed).
See a full installation process captured here:
Safety & Pro Tips
After installation, consider adding LED strip lights under the awning for nighttime ambiance.
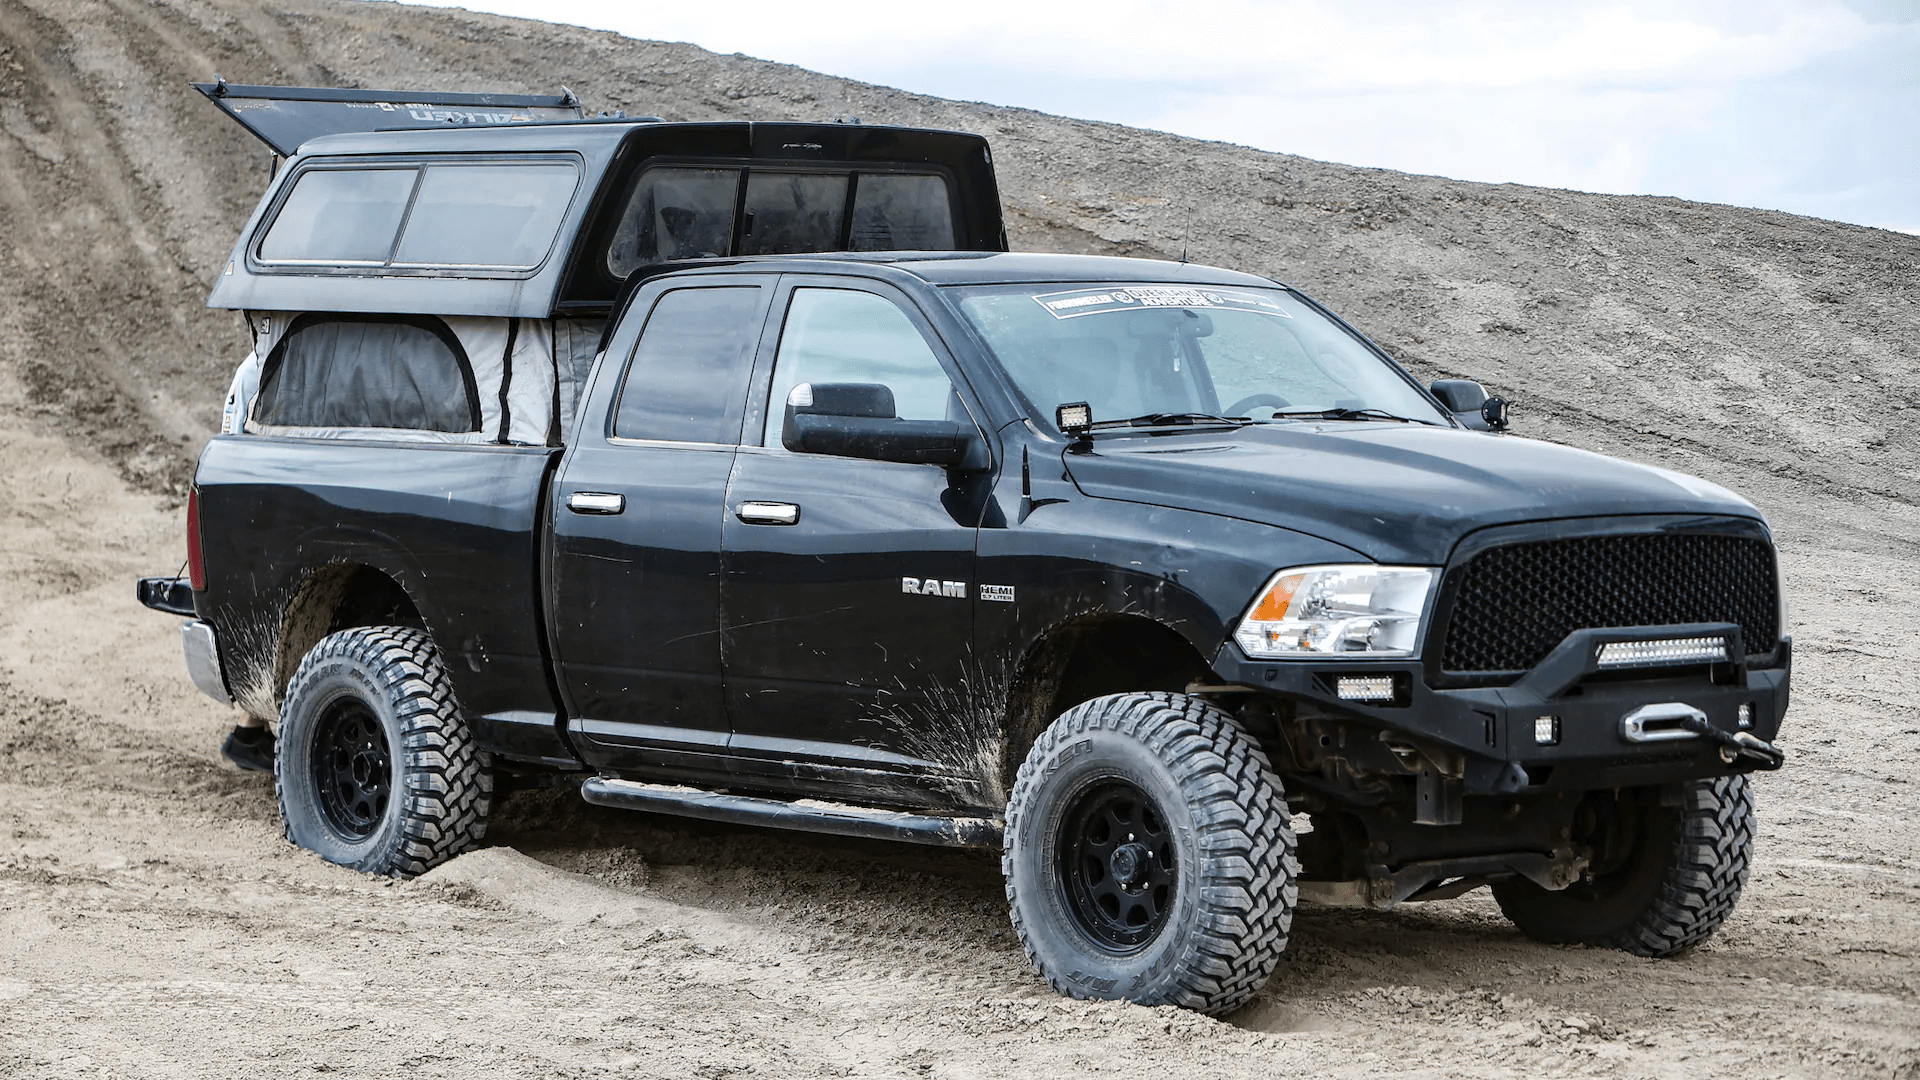
Bonus: Truck-Based Camping Inspiration
If you're into truck camping instead of trailers, a similar awning upgrade works great on pickup campers. For ideas on powerful tow vehicles perfect for hauling trailers or mounting truck campers, check out this detailed guide on dodge ram truck camper conversion setups — built tough for serious adventures.

Conclusion
Installing a camper trailer awning is a rewarding DIY project that dramatically improves your camping experience. With patience, the right tools, and this guide, you'll have shade and shelter ready for your next trip. Happy camping — and safe travels!


评论
发表评论