DIY Water Storage and Filtration for Your Trailer
DIY Water Storage and Filtration for Your Trailer
Whether you're boondocking in a travel trailer, camper van, or teardrop trailer, having reliable water storage and clean drinking water is essential. Built-in tanks are often limited, so many RVers add portable storage and DIY filtration systems for safer, better-tasting water. This guide covers simple, cost-effective DIY options.
Water Storage Options
Most trailers have a built-in fresh water tank (20-50 gallons), but for extended trips, add portable tanks.
1. Portable Blue Water Jugs
The easiest DIY solution: Use 5-7 gallon BPA-free jugs (like Reliance or Scepter). Stack them securely in your trailer or tow vehicle.
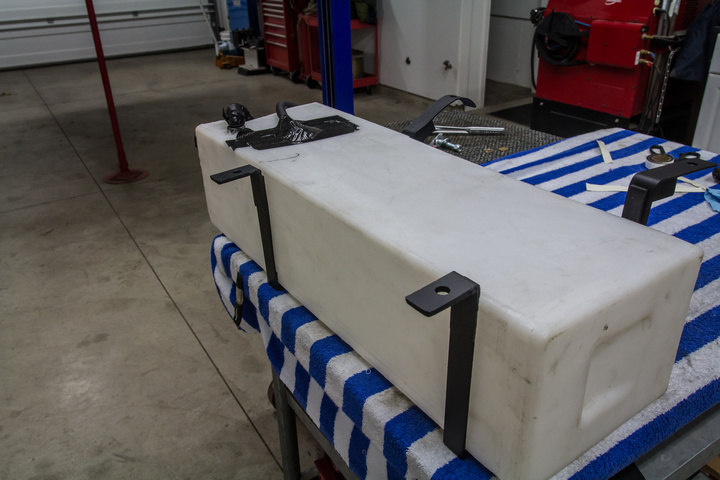
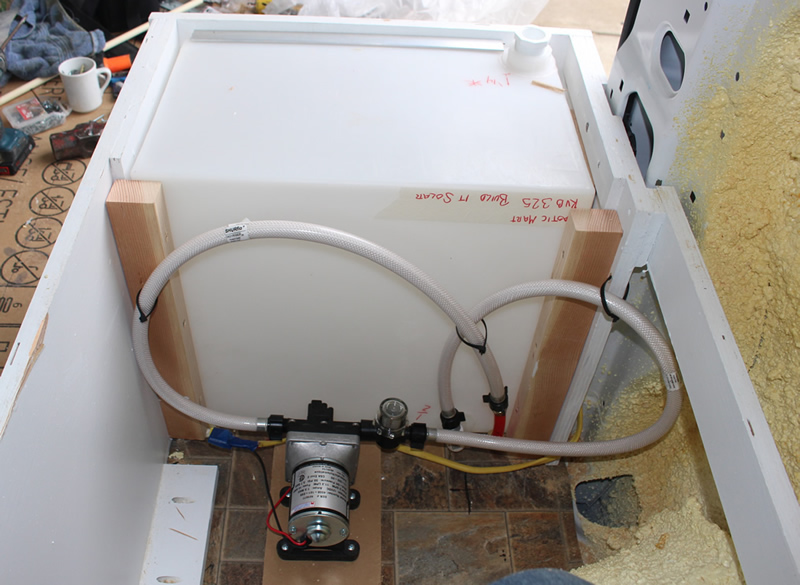
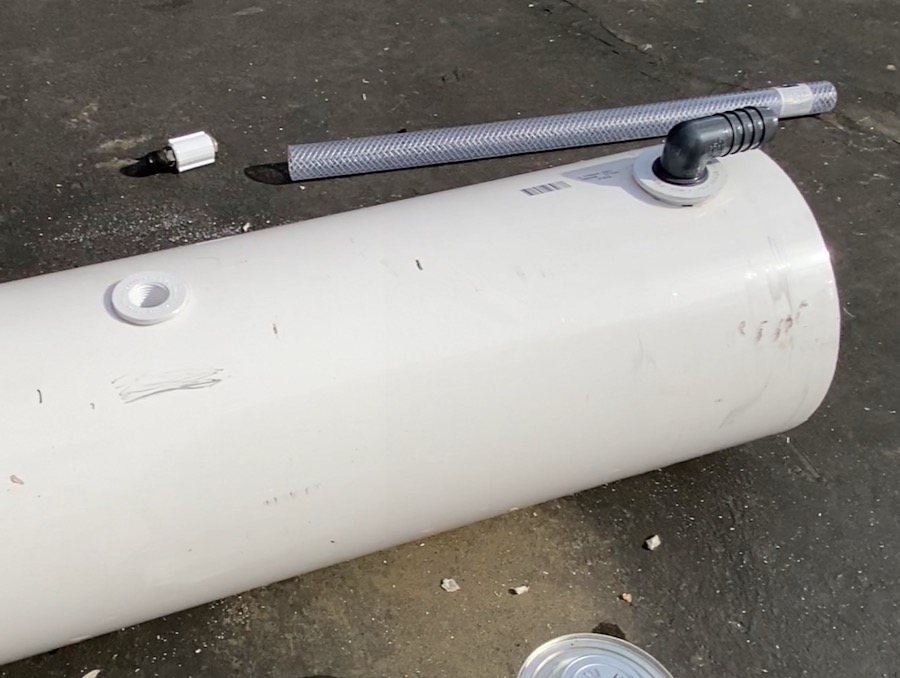
2. Larger Auxiliary Tanks
Mount a 20-50 gallon tank under the trailer or in a storage compartment. Use food-grade plastic tanks with proper fittings.
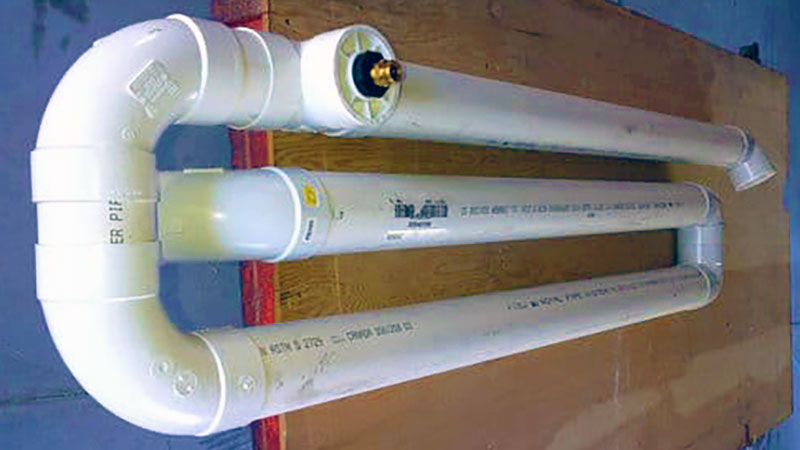
3. Custom Built Tanks
For advanced DIY: Build from PVC sheets or repurpose containers, ensuring they're food-safe and sealed.
Water Filtration Systems
Campground water can contain sediment, chlorine, or contaminants. A good filtration setup removes them for safe drinking.
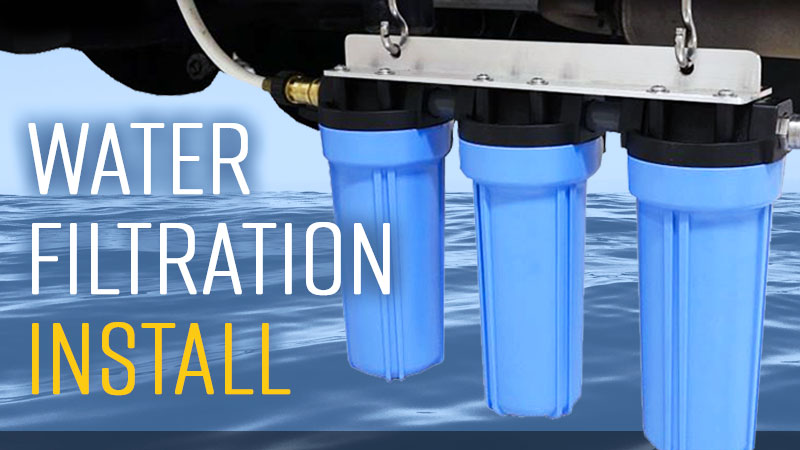
1. Basic Inline Hose Filter
Connect a canister filter directly to your city water hookup. Affordable and easy to install/replace.


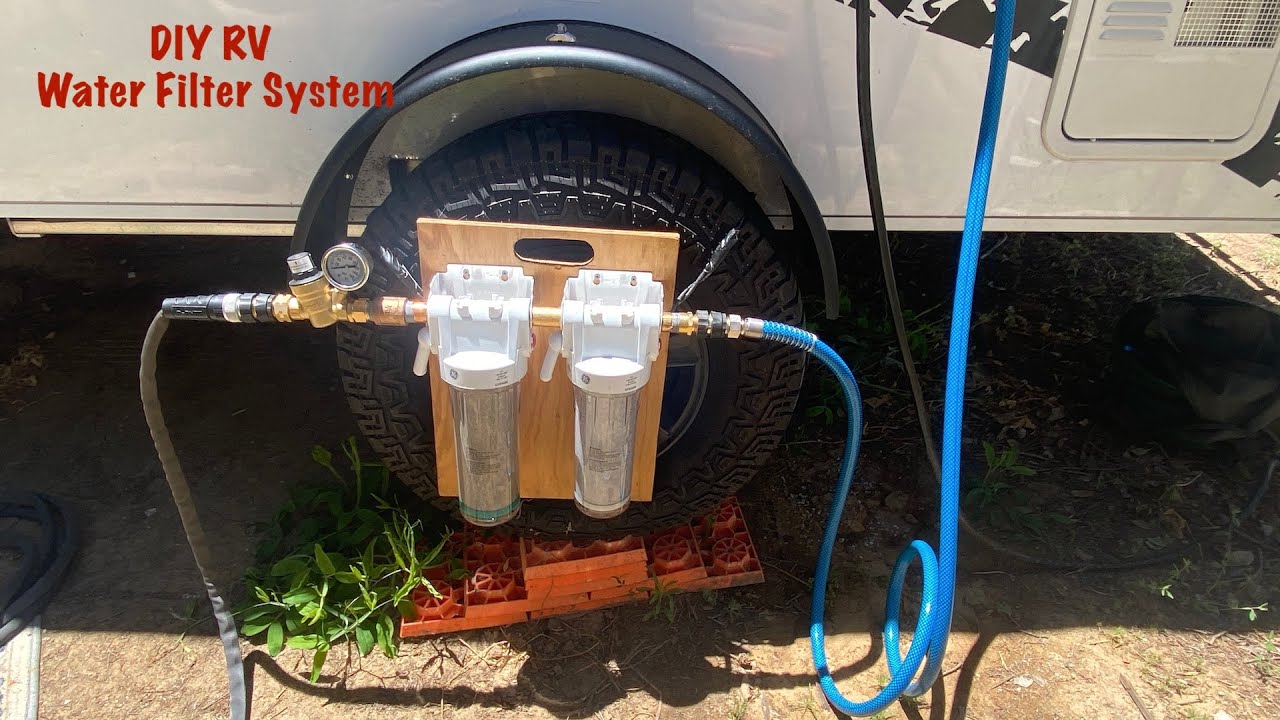
2. Multi-Stage DIY System
Build a 2-3 stage system: Sediment filter + carbon block + optional UV or ceramic for advanced purification.
3. Under-Sink Drinking Water Filter
For the cleanest tap water inside your trailer, install a dedicated filter under the kitchen sink.

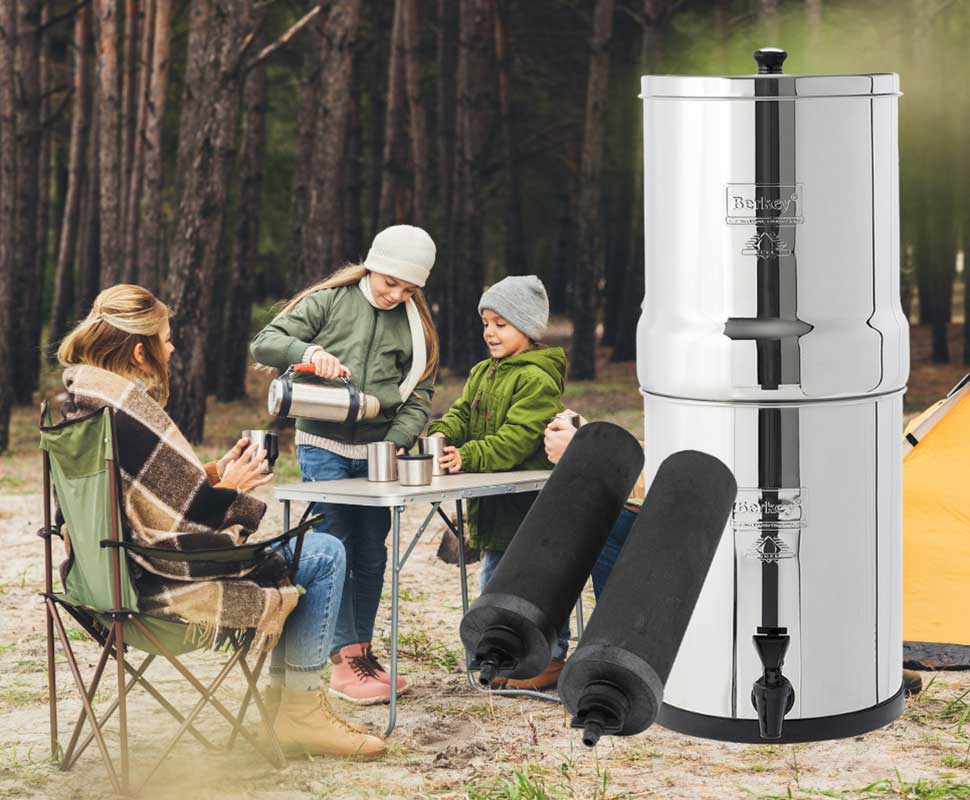
4. Gravity-Fed Option for Boondocking
No power needed: Pour water into the top chamber and let gravity filter it (e.g., Berkey-style systems).

Tips for Success
- Use food-grade hoses and containers only.
- Sanitize tanks regularly with bleach solution.
- Add a pressure regulator to protect your trailer's plumbing.
- Test water sources if boondocking from streams/lakes.
With these DIY setups, you'll have plenty of clean water on the road. Safe travels!


评论
发表评论